Install Icinga2 + Icinga Web 2 on Oracle Linux 8.5
As Oracle Linux is not found on ICINGAs official Compatibility List
Requirements
Author: @dokon
Revision: v0.1Tested with:
- Icinga 2 v2.13.2-1
- Icinga Web 2 v2.9.5
Linux
[root@localhost ~]# cat /etc/os-release && uname -r
NAME="Oracle Linux Server"
VERSION="8.5"
ID="ol"
ID_LIKE="fedora"
VARIANT="Server"
VARIANT_ID="server"
VERSION_ID="8.5"
PLATFORM_ID="platform:el8"
PRETTY_NAME="Oracle Linux Server 8.5"
ANSI_COLOR="0;31"
CPE_NAME="cpe:/o:oracle:linux:8:5:server"
HOME_URL="https://linux.oracle.com/"
BUG_REPORT_URL="https://bugzilla.oracle.com/"

ORACLE_BUGZILLA_PRODUCT="Oracle Linux 8"
ORACLE_BUGZILLA_PRODUCT_VERSION=8.5
ORACLE_SUPPORT_PRODUCT="Oracle Linux"
ORACLE_SUPPORT_PRODUCT_VERSION=8.5
5.4.17-2136.300.7.el8uek.x86_64
Installation
OS Updates & enabled repositories
[root@localhost yum.repos.d]# cat oracle-epel-ol8.repo
[ol8_developer_EPEL]
name=Oracle Linux $releasever EPEL Packages for Development ($basearch)
baseurl=https://yum$ociregion.$ocidomain/repo/OracleLinux/OL8/developer/EPEL/$basearch/
gpgkey=file:///etc/pki/rpm-gpg/RPM-GPG-KEY-oracle
gpgcheck=1
enabled=1

[root@localhost yum.repos.d]# cat oraclelinux-developer-ol8.repo
[ol8_developer]
name=Oracle Linux 8 Development Packages ($basearch)
baseurl=https://yum$ociregion.$ocidomain/repo/OracleLinux/OL8/developer/$basearch/
gpgkey=file:///etc/pki/rpm-gpg/RPM-GPG-KEY-oracle
gpgcheck=1
enabled=1

[ol8_developer_UEKR6]
name=Developer Preview of UEK Release 6 ($basearch)
baseurl=https://yum$ociregion.$ocidomain/repo/OracleLinux/OL8/developer/UEKR6/$basearch/
gpgkey=file:///etc/pki/rpm-gpg/RPM-GPG-KEY-oracle
gpgcheck=1
enabled=0

[ol8_developer_UEKR7]
name=Developer Preview of UEK Release 7 ($basearch)
baseurl=https://yum$ociregion.$ocidomain/repo/OracleLinux/OL8/developer/UEKR7/$basearch/
gpgkey=file:///etc/pki/rpm-gpg/RPM-GPG-KEY-oracle
gpgcheck=1
enabled=0

[root@localhost yum.repos.d]# cat oracle-linux-ol8.repo
[ol8_baseos_latest]
name=Oracle Linux 8 BaseOS Latest ($basearch)
baseurl=https://yum$ociregion.$ocidomain/repo/OracleLinux/OL8/baseos/latest/$basearch/
gpgkey=file:///etc/pki/rpm-gpg/RPM-GPG-KEY-oracle
gpgcheck=1
enabled=1

[ol8_appstream]
name=Oracle Linux 8 Application Stream ($basearch)
baseurl=https://yum$ociregion.$ocidomain/repo/OracleLinux/OL8/appstream/$basearch/
gpgkey=file:///etc/pki/rpm-gpg/RPM-GPG-KEY-oracle
gpgcheck=1
enabled=1

[ol8_codeready_builder]
name=Oracle Linux 8 CodeReady Builder ($basearch) - Unsupported
baseurl=https://yum$ociregion.$ocidomain/repo/OracleLinux/OL8/codeready/builder/$basearch/
gpgkey=file:///etc/pki/rpm-gpg/RPM-GPG-KEY-oracle
gpgcheck=1
enabled=0

[ol8_distro_builder]
name=Oracle Linux 8 Distro Builder ($basearch) - Unsupported
baseurl=https://yum$ociregion.$ocidomain/repo/OracleLinux/OL8/distro/builder/$basearch/
gpgkey=file:///etc/pki/rpm-gpg/RPM-GPG-KEY-oracle
gpgcheck=1
enabled=0

[ol8_u0_baseos_base]
name=Oracle Linux 8 BaseOS GA ($basearch)
baseurl=https://yum$ociregion.$ocidomain/repo/OracleLinux/OL8/0/baseos/base/$basearch/
gpgkey=file:///etc/pki/rpm-gpg/RPM-GPG-KEY-oracle
gpgcheck=1
enabled=0

[ol8_u1_baseos_base]
name=Oracle Linux 8.1 BaseOS ($basearch)
baseurl=https://yum$ociregion.$ocidomain/repo/OracleLinux/OL8/1/baseos/base/$basearch/
gpgkey=file:///etc/pki/rpm-gpg/RPM-GPG-KEY-oracle
gpgcheck=1
enabled=0

[ol8_u2_baseos_base]
name=Oracle Linux 8.2 BaseOS ($basearch)
baseurl=https://yum$ociregion.$ocidomain/repo/OracleLinux/OL8/2/baseos/base/$basearch/
gpgkey=file:///etc/pki/rpm-gpg/RPM-GPG-KEY-oracle
gpgcheck=1
enabled=0

[ol8_u3_baseos_base]
name=Oracle Linux 8.3 BaseOS ($basearch)
baseurl=https://yum$ociregion.$ocidomain/repo/OracleLinux/OL8/3/baseos/base/$basearch/
gpgkey=file:///etc/pki/rpm-gpg/RPM-GPG-KEY-oracle
gpgcheck=1
enabled=0

[ol8_u4_baseos_base]
name=Oracle Linux 8.4 BaseOS ($basearch)
baseurl=https://yum$ociregion.$ocidomain/repo/OracleLinux/OL8/4/baseos/base/$basearch/
gpgkey=file:///etc/pki/rpm-gpg/RPM-GPG-KEY-oracle
gpgcheck=1
enabled=0

[ol8_u5_baseos_base]
name=Oracle Linux 8.5 BaseOS ($basearch)
baseurl=https://yum$ociregion.$ocidomain/repo/OracleLinux/OL8/5/baseos/base/$basearch/
gpgkey=file:///etc/pki/rpm-gpg/RPM-GPG-KEY-oracle
gpgcheck=1
enabled=0

[ol8_addons]
name=Oracle Linux 8 Addons ($basearch)
baseurl=https://yum$ociregion.$ocidomain/repo/OracleLinux/OL8/addons/$basearch/
gpgkey=file:///etc/pki/rpm-gpg/RPM-GPG-KEY-oracle
gpgcheck=1
enabled=0

[ol8_u4_security_validation]
name=Oracle Linux $releasever Update 4 ($basearch) Security Validations
baseurl=https://yum$ociregion.$ocidomain/repo/OracleLinux/OL8/4/security/validation/$basearch/
gpgkey=file:///etc/pki/rpm-gpg/RPM-GPG-KEY-oracle
gpgcheck=1
enabled=0
Just to be on the safe side we install for the purpose of missing dependencies packages the ‘OL8 Codeready Builder Repo’ package. This is just a fail safe if the OL8 Appstream doesn’t provide the needed package.
[OL8_codeready_builder]
name= checkmk dependencies
baseurl=http://yum.oracle.com/repo/OracleLinux/OL8/codeready/builder/x86_64
enabled=1
gpgcheck=0
The usual repository steps:
[root@localhost ~]# rpm --import https://packages.icinga.com/icinga.key
[root@localhost ~]# yum install https://packages.icinga.com/epel/icinga-rpm-release-8-latest.noarch.rpm
As we install a monitoring system we need checks to check with our fresh installed monitoring system something
[root@localhost ~]# yum install nagios-plugins-all -y
As a database backend i default also simply to mariadb-server here .. as you can later change the IDO as you like just for the purpose of the ‘how to’ i choose this.
[root@localhost ~]# yum install mariadb-server -y
And finally all the icinga2 components we need.
[root@localhost ~]# yum install icinga2 -y
[root@localhost ~]# yum install icingaweb2 -y
[root@localhost ~]# yum install icinga2-ido-mysql -y
Webserver
Also here the ususal culprit (Apache2) not fancy but always in the repositories.
[root@localhost ~]# yum install httpd -y
And the php-fpm package:
I defaulted here to the php-fpm package because OL8 provides this initially without any additional steps.
[root@localhost ~]# dnf module list php
[root@localhost ~]# dnf module list reset php
[root@localhost ~]# dnf module switch-to php:7.4
[root@localhost ~]# yum install php-fpm-7.4.19 -y
Small adjustment in the php.ini
[root@localhost ~]# vi /etc/php.ini
date.timezone = 'europe/berlin' //otherwise it isn't set
Configuration
Now we start with the configuration of some of the components
Let us start with the Database:
[root@localhost ~]# systemctl enable mariadb.service --now
[root@localhost ~]# mysql_secure_installation
Advice please set a responsible root pw for the mariadb.
[root@localhost ~]# mysql_secure_installation

NOTE: RUNNING ALL PARTS OF THIS SCRIPT IS RECOMMENDED FOR ALL MariaDB
      SERVERS IN PRODUCTION USE!  PLEASE READ EACH STEP CAREFULLY!

In order to log into MariaDB to secure it, we'll need the current
password for the root user.  If you've just installed MariaDB, and
you haven't set the root password yet, the password will be blank,
so you should just press enter here.

Enter current password for root (enter for none):
OK, successfully used password, moving on...

Setting the root password ensures that nobody can log into the MariaDB
root user without the proper authorisation.

Set root password? [Y/n]
New password:
Re-enter new password:
Password updated successfully!
Reloading privilege tables..
 ... Success!

By default, a MariaDB installation has an anonymous user, allowing anyone
to log into MariaDB without having to have a user account created for
them.  This is intended only for testing, and to make the installation
go a bit smoother.  You should remove them before moving into a
production environment.

Remove anonymous users? [Y/n]
 ... Success!

Normally, root should only be allowed to connect from 'localhost'.  This
ensures that someone cannot guess at the root password from the network.

Disallow root login remotely? [Y/n]
 ... Success!

By default, MariaDB comes with a database named 'test' that anyone can
access.  This is also intended only for testing, and should be removed
before moving into a production environment.

Remove test database and access to it? [Y/n]
 - Dropping test database...
 ... Success!
 - Removing privileges on test database...
 ... Success!

Reloading the privilege tables will ensure that all changes made so far
will take effect immediately.

Reload privilege tables now? [Y/n]
 ... Success!

Cleaning up...

All done!  If you've completed all of the above steps, your MariaDB
installation should now be secure.

Thanks for using MariaDB!
For ease of use purpose a .my.cnf file
[root@localhost ~]# vi .my.cnf

Content:

[client]
user=root
password=mysecretpassword
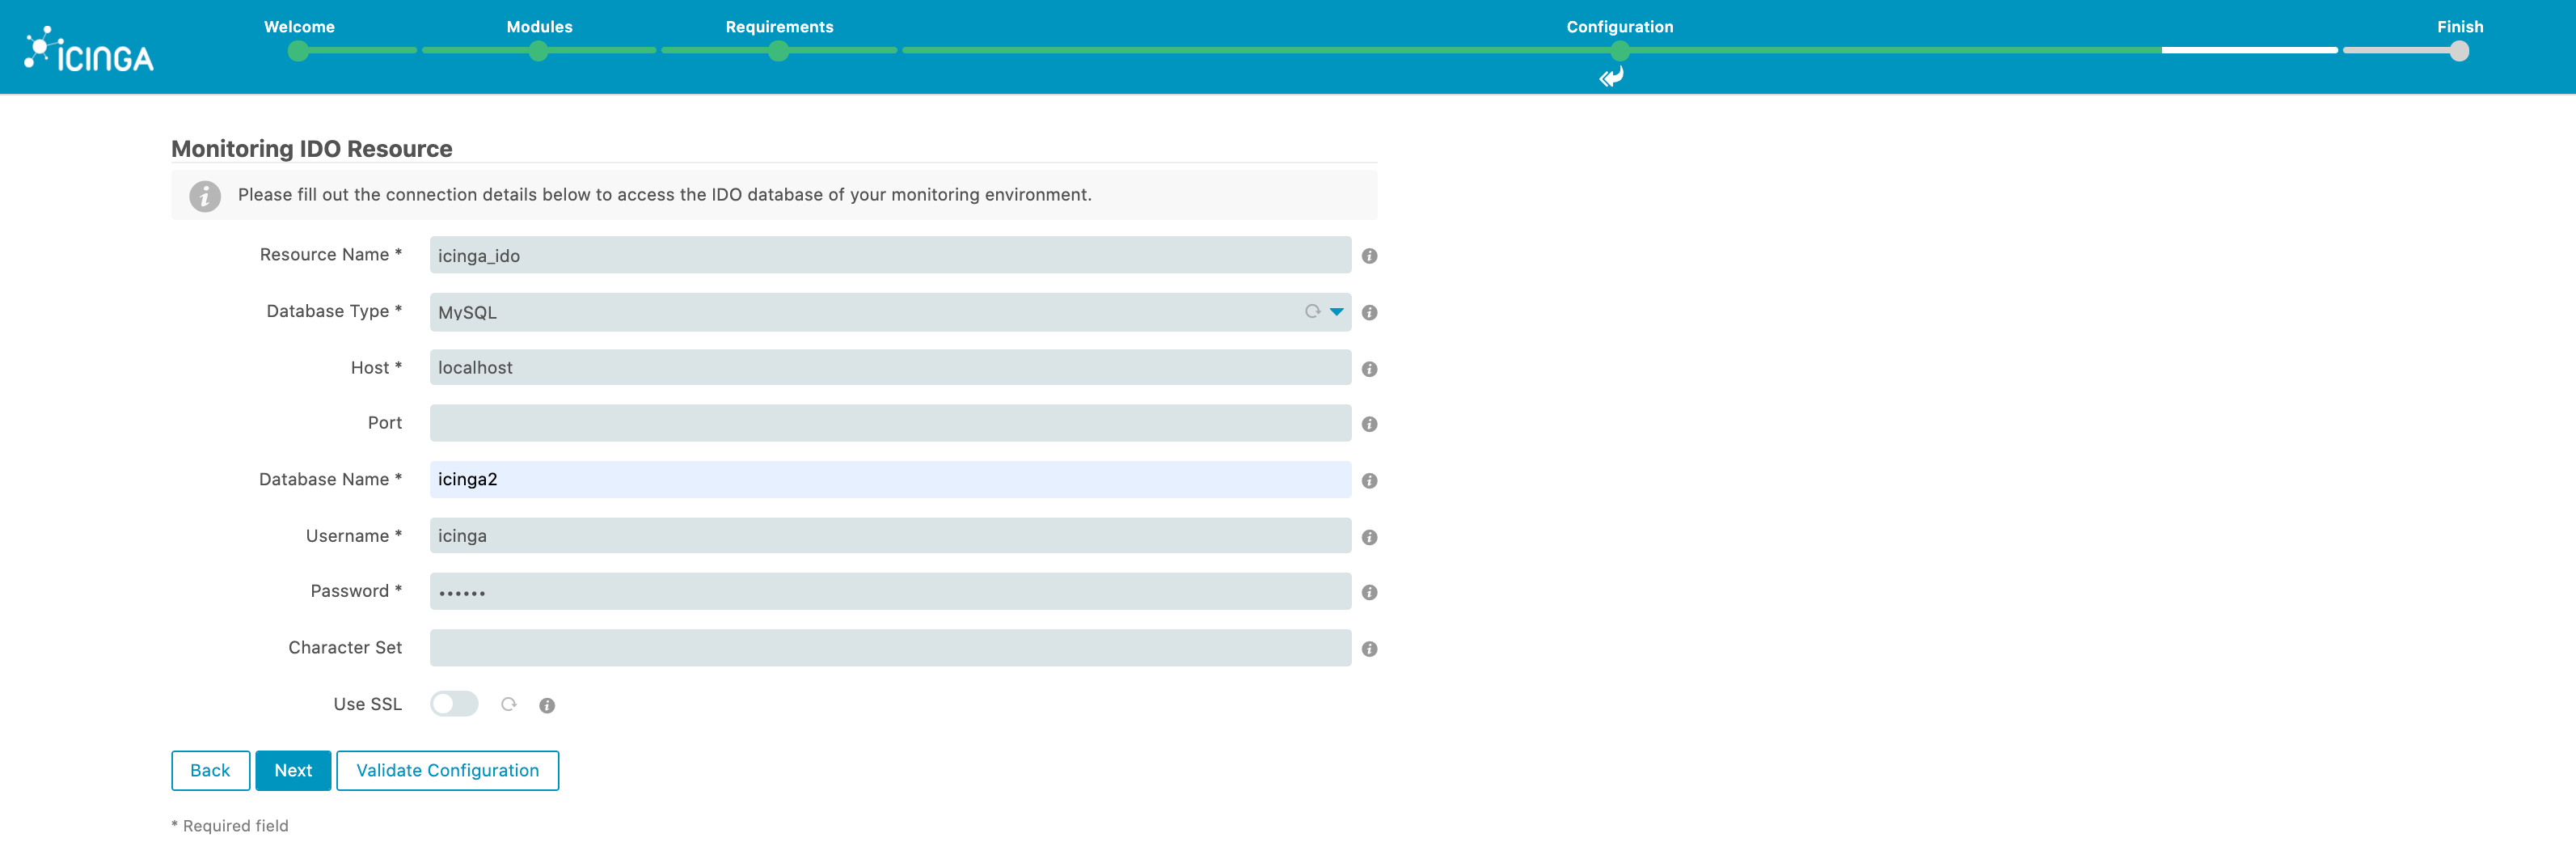
Now we finally create the databases:
[root@localhost ~]# mysql -e "create database icinga2;"
[root@localhost ~]# mysql -e "GRANT SELECT, INSERT, UPDATE, DELETE, DROP, CREATE VIEW, INDEX, EXECUTE ON icinga2.* TO 'icinga'@'localhost' IDENTIFIED BY 'icinga';"
We push the IDO schema into the Database
[root@localhost ~]# mysql icinga2 < /usr/share/icinga2-ido-mysql/schema/mysql.sql
After filling the schema into the database we need to adjust the icinga2 feature config
[root@localhost ~]# vi /etc/icinga2/features-available/ido-mysql.conf

changed to:

/**
 * The IdoMysqlConnection type implements MySQL support
 * for DB IDO.
 */

object IdoMysqlConnection "ido-mysql" {
  user = "icinga"
  password = "icinga"
  host = "localhost"
  database = "icinga2"
}
Set SELinux to permissive:
[root@localhost ~]# setenforce 0
[root@localhost ~]# sed -i 's/=enforcing/=permissive/g' /etc/selinux/config
Before we go into the web2 setup via the browser we enable & start the following services
[root@localhost ~]# systemctl enable httpd --now
[root@localhost ~]# systemctl enable php-fpm --now
[root@localhost ~]# systemctl enable mariadb --now
[root@localhost ~]# systemctl enable icinga2 --now
We enable some icinga2 features before we enter the websetup
[root@localhost ~]# icinga2 feature enable ido-mysql command
Enabling feature ido-mysql. Make sure to restart Icinga 2 for these changes to take effect.
Enabling feature command. Make sure to restart Icinga 2 for these changes to take effect.
[root@localhost ~]# systemctl restart icinga2
And finally that we can enter the Web 2 setup:
[root@localhost ~]# icingacli setup token create
The newly generated setup token is: b627a51c8cdf6cbb
Depending on the placement of the host machine in your network it is necessary to adjust firewalld.
You might choose to disable it, or like below just your port and service.
I’ll leave this up to you but i wanted at least to remind you on it.
[root@localhost ~]# firewall-cmd --permanent --zone=public --add-port=80/tcp
[root@localhost ~]# firewall-cmd --permanent --zone=public --add-service=http
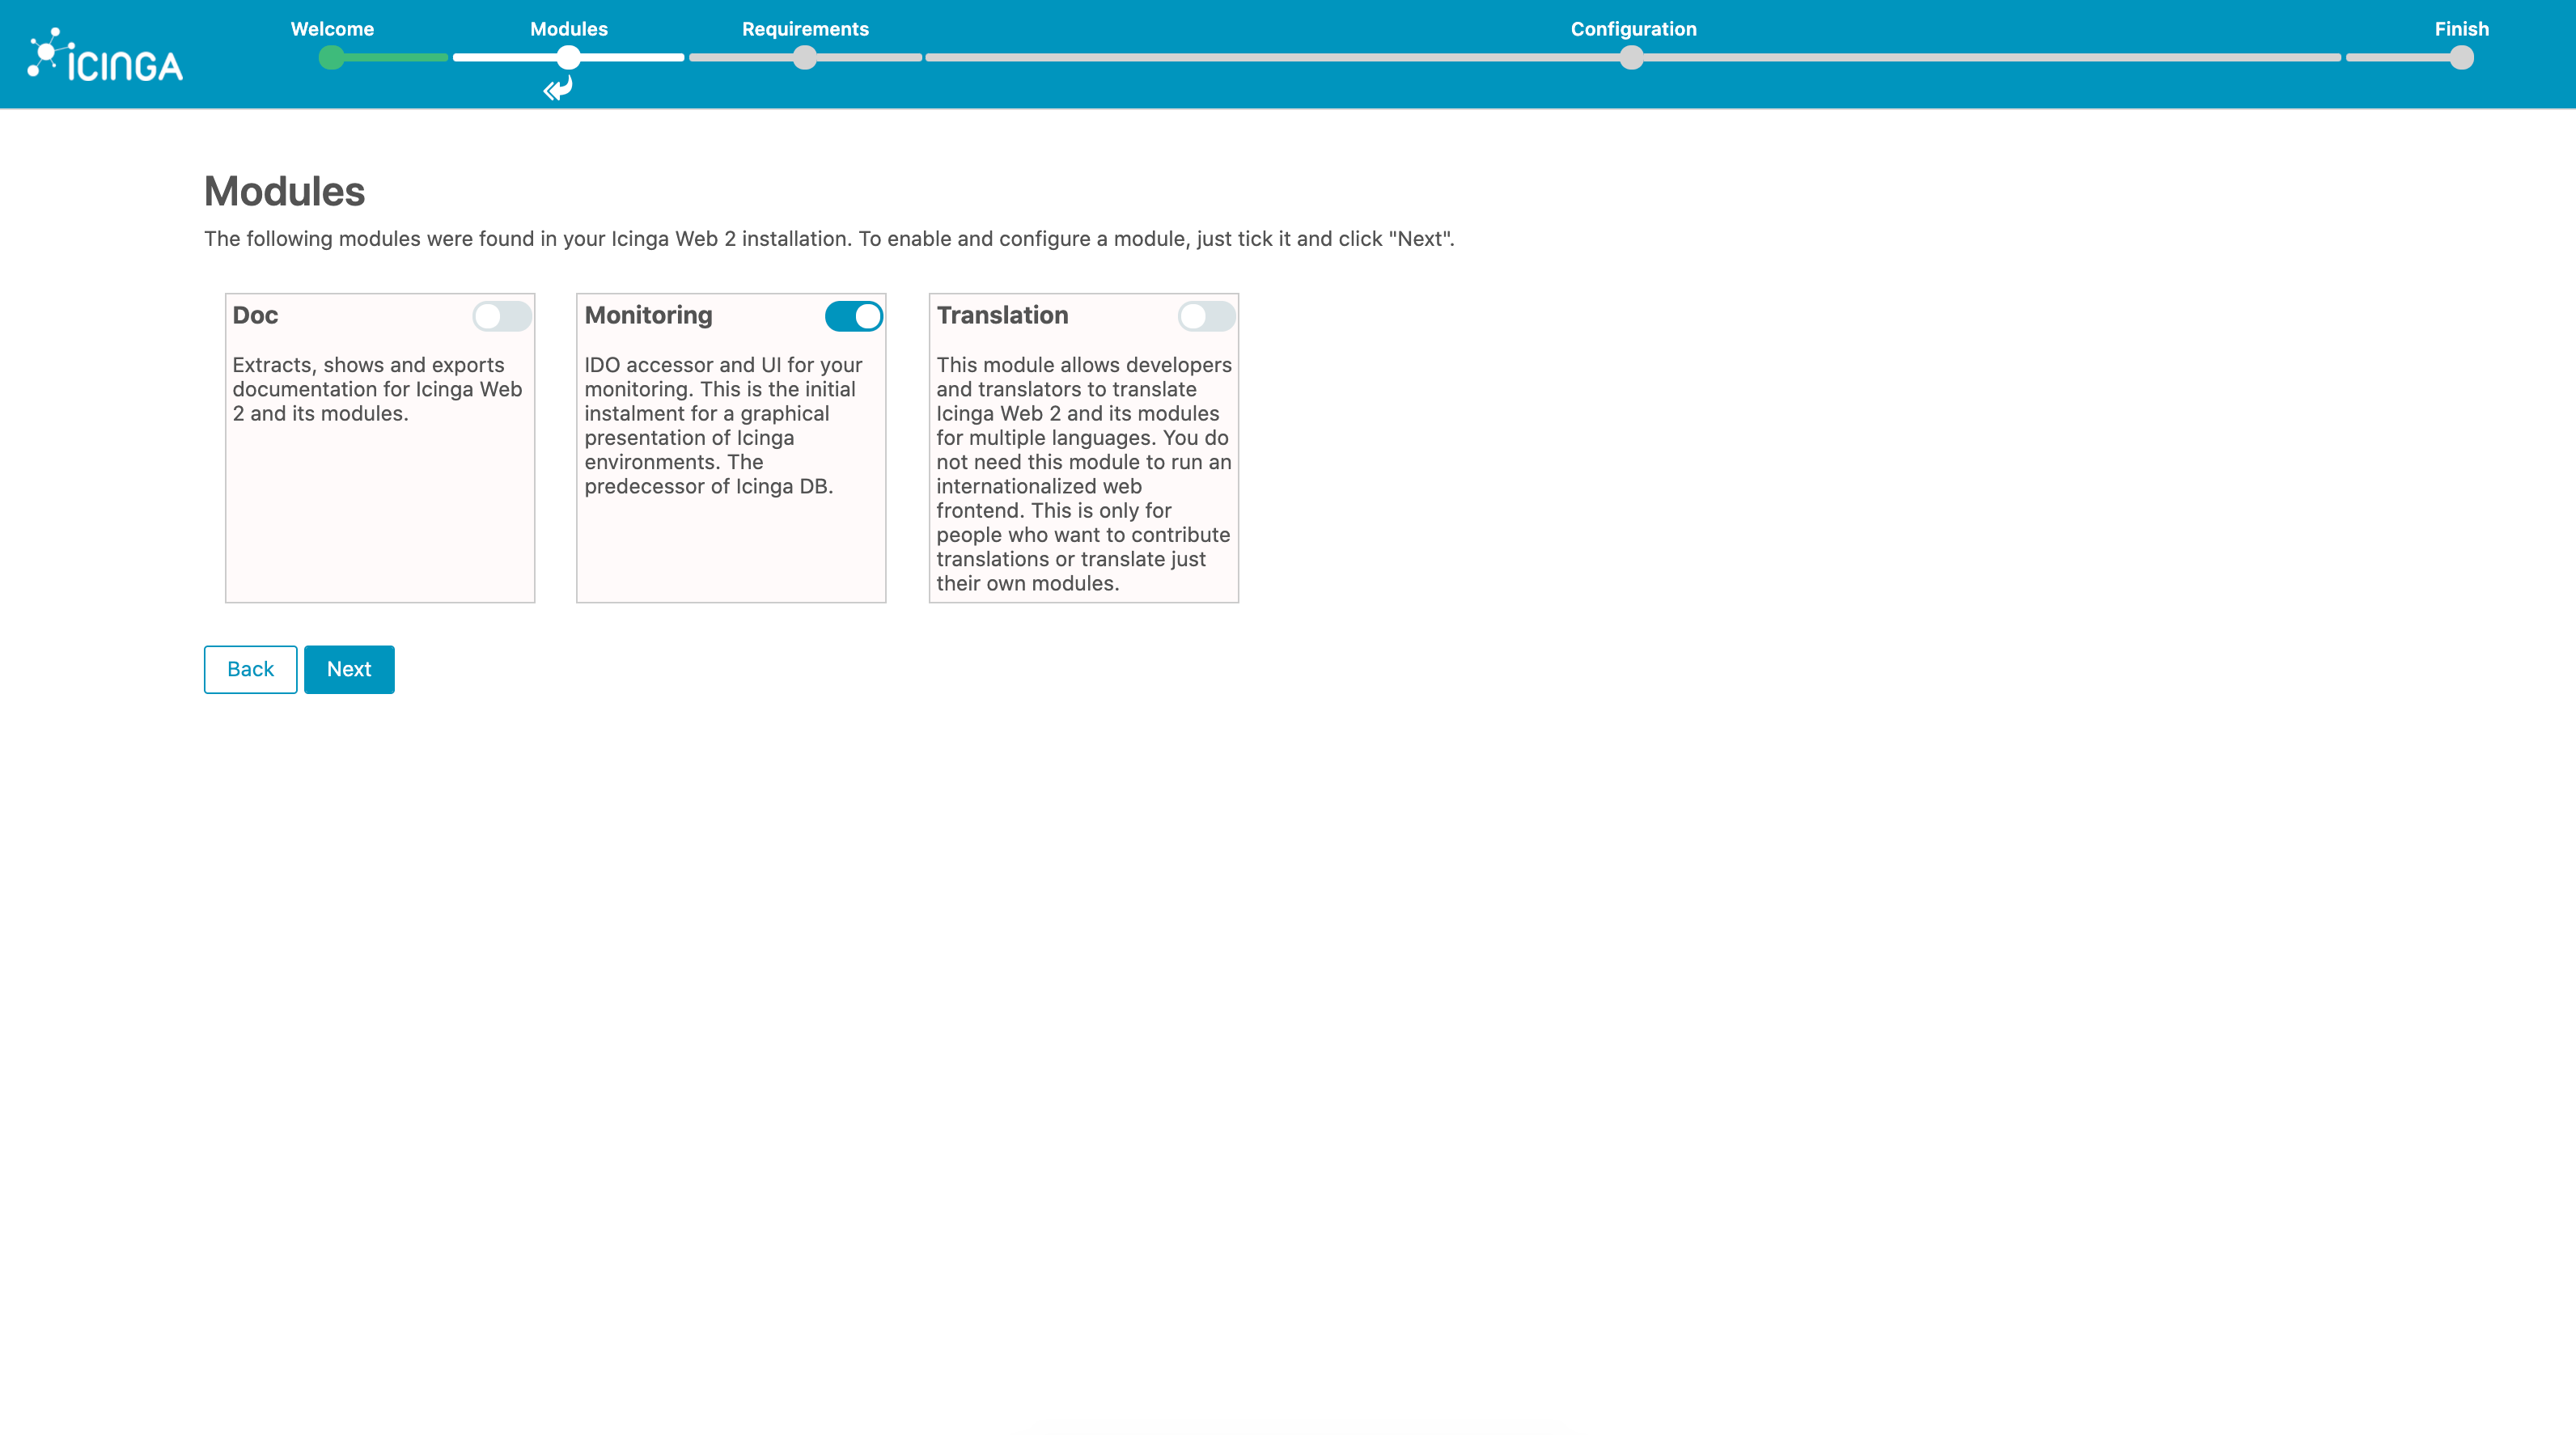
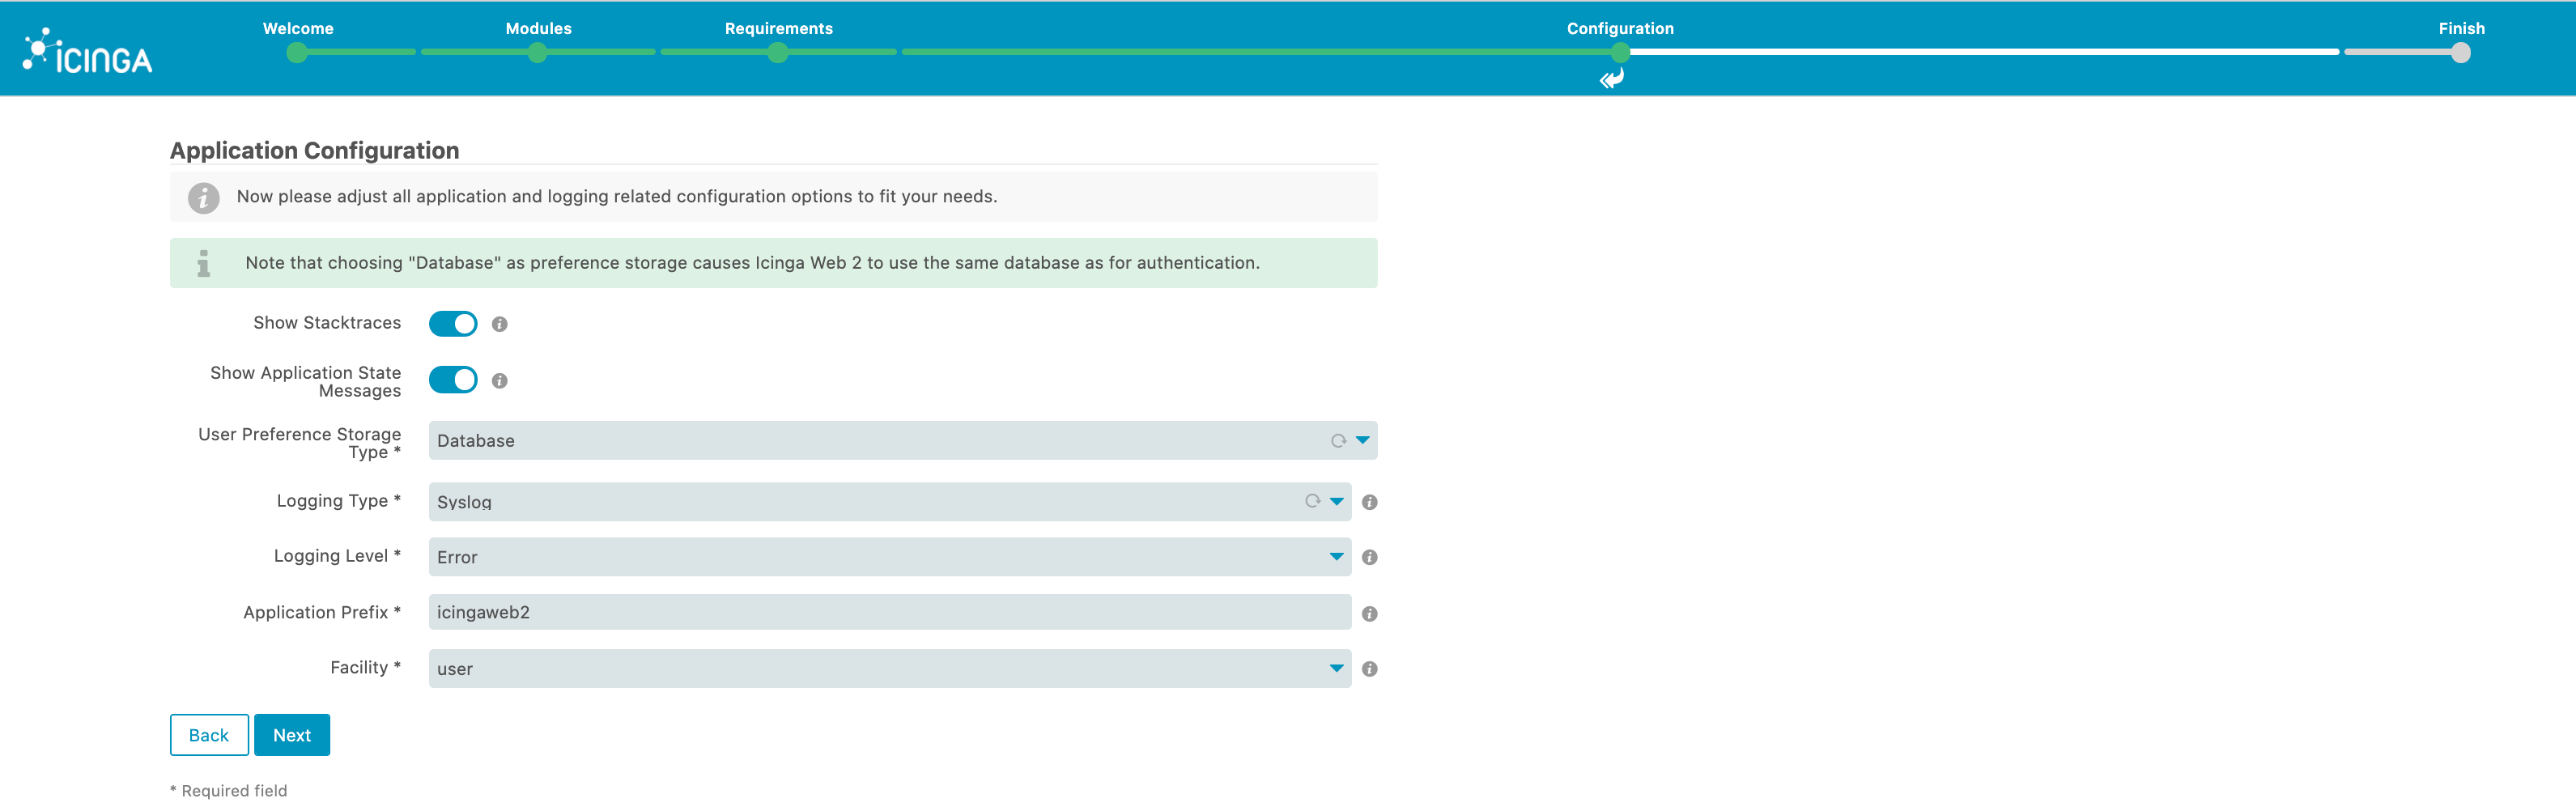
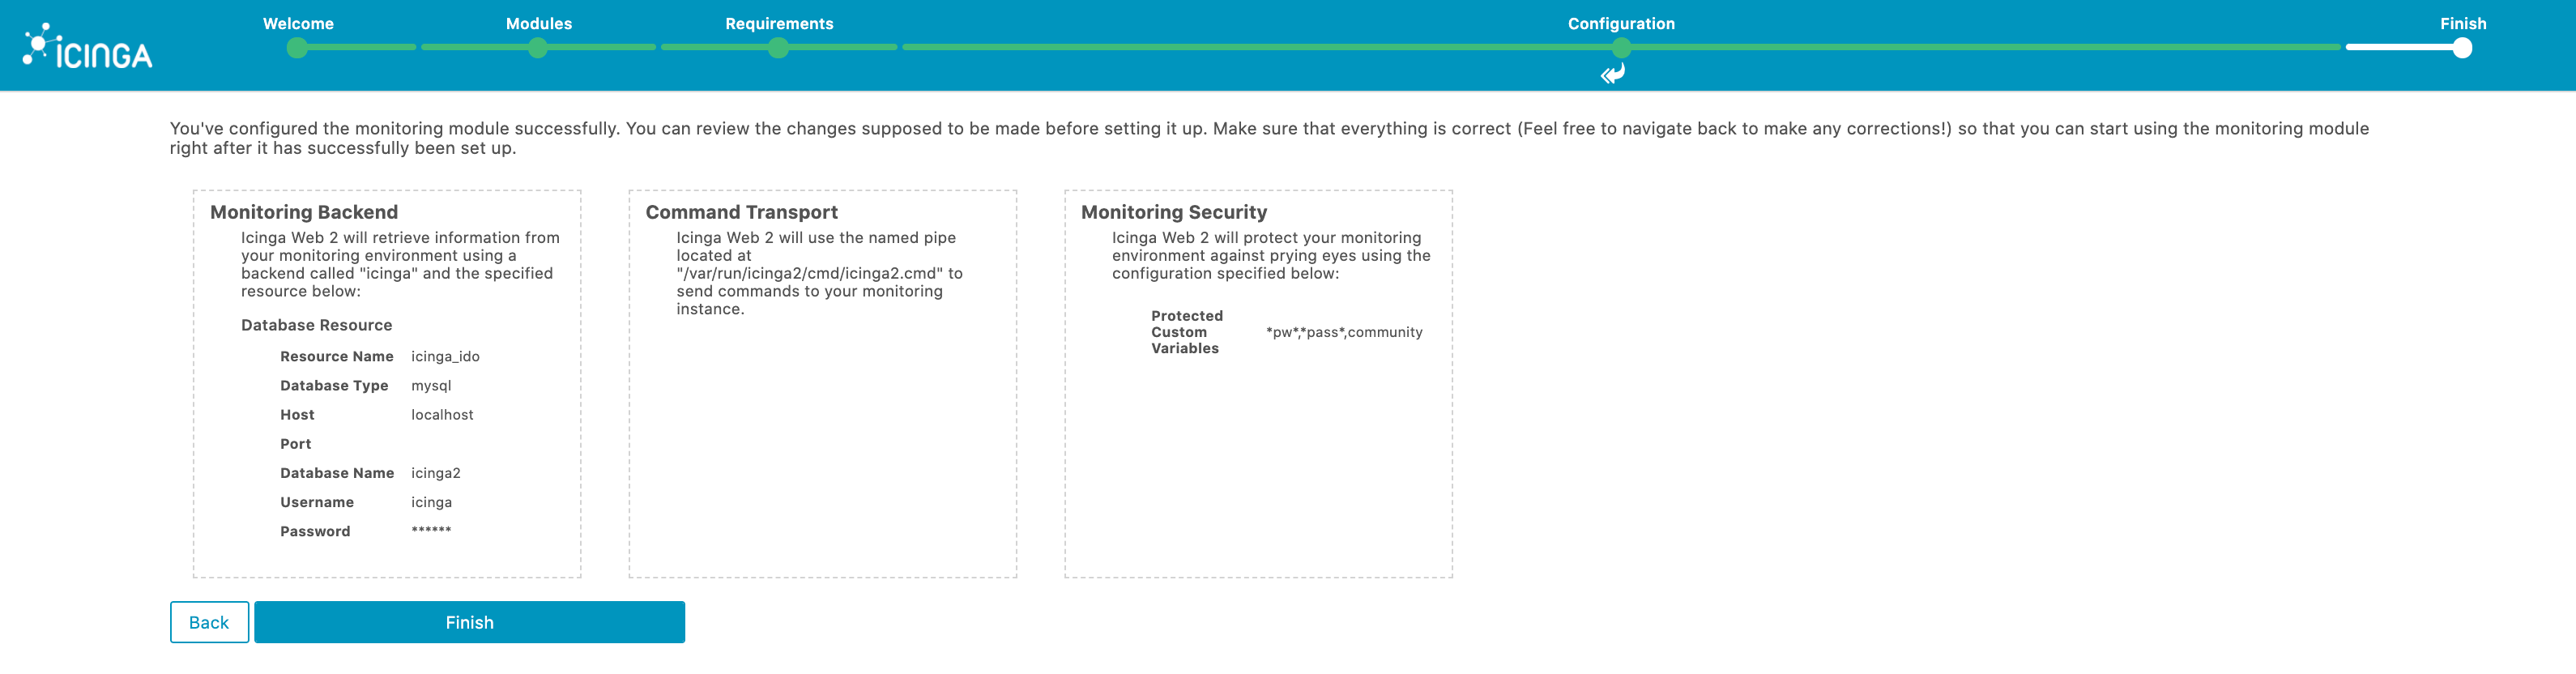
Web 2 Steps
Step 1

Step 2
Step 3
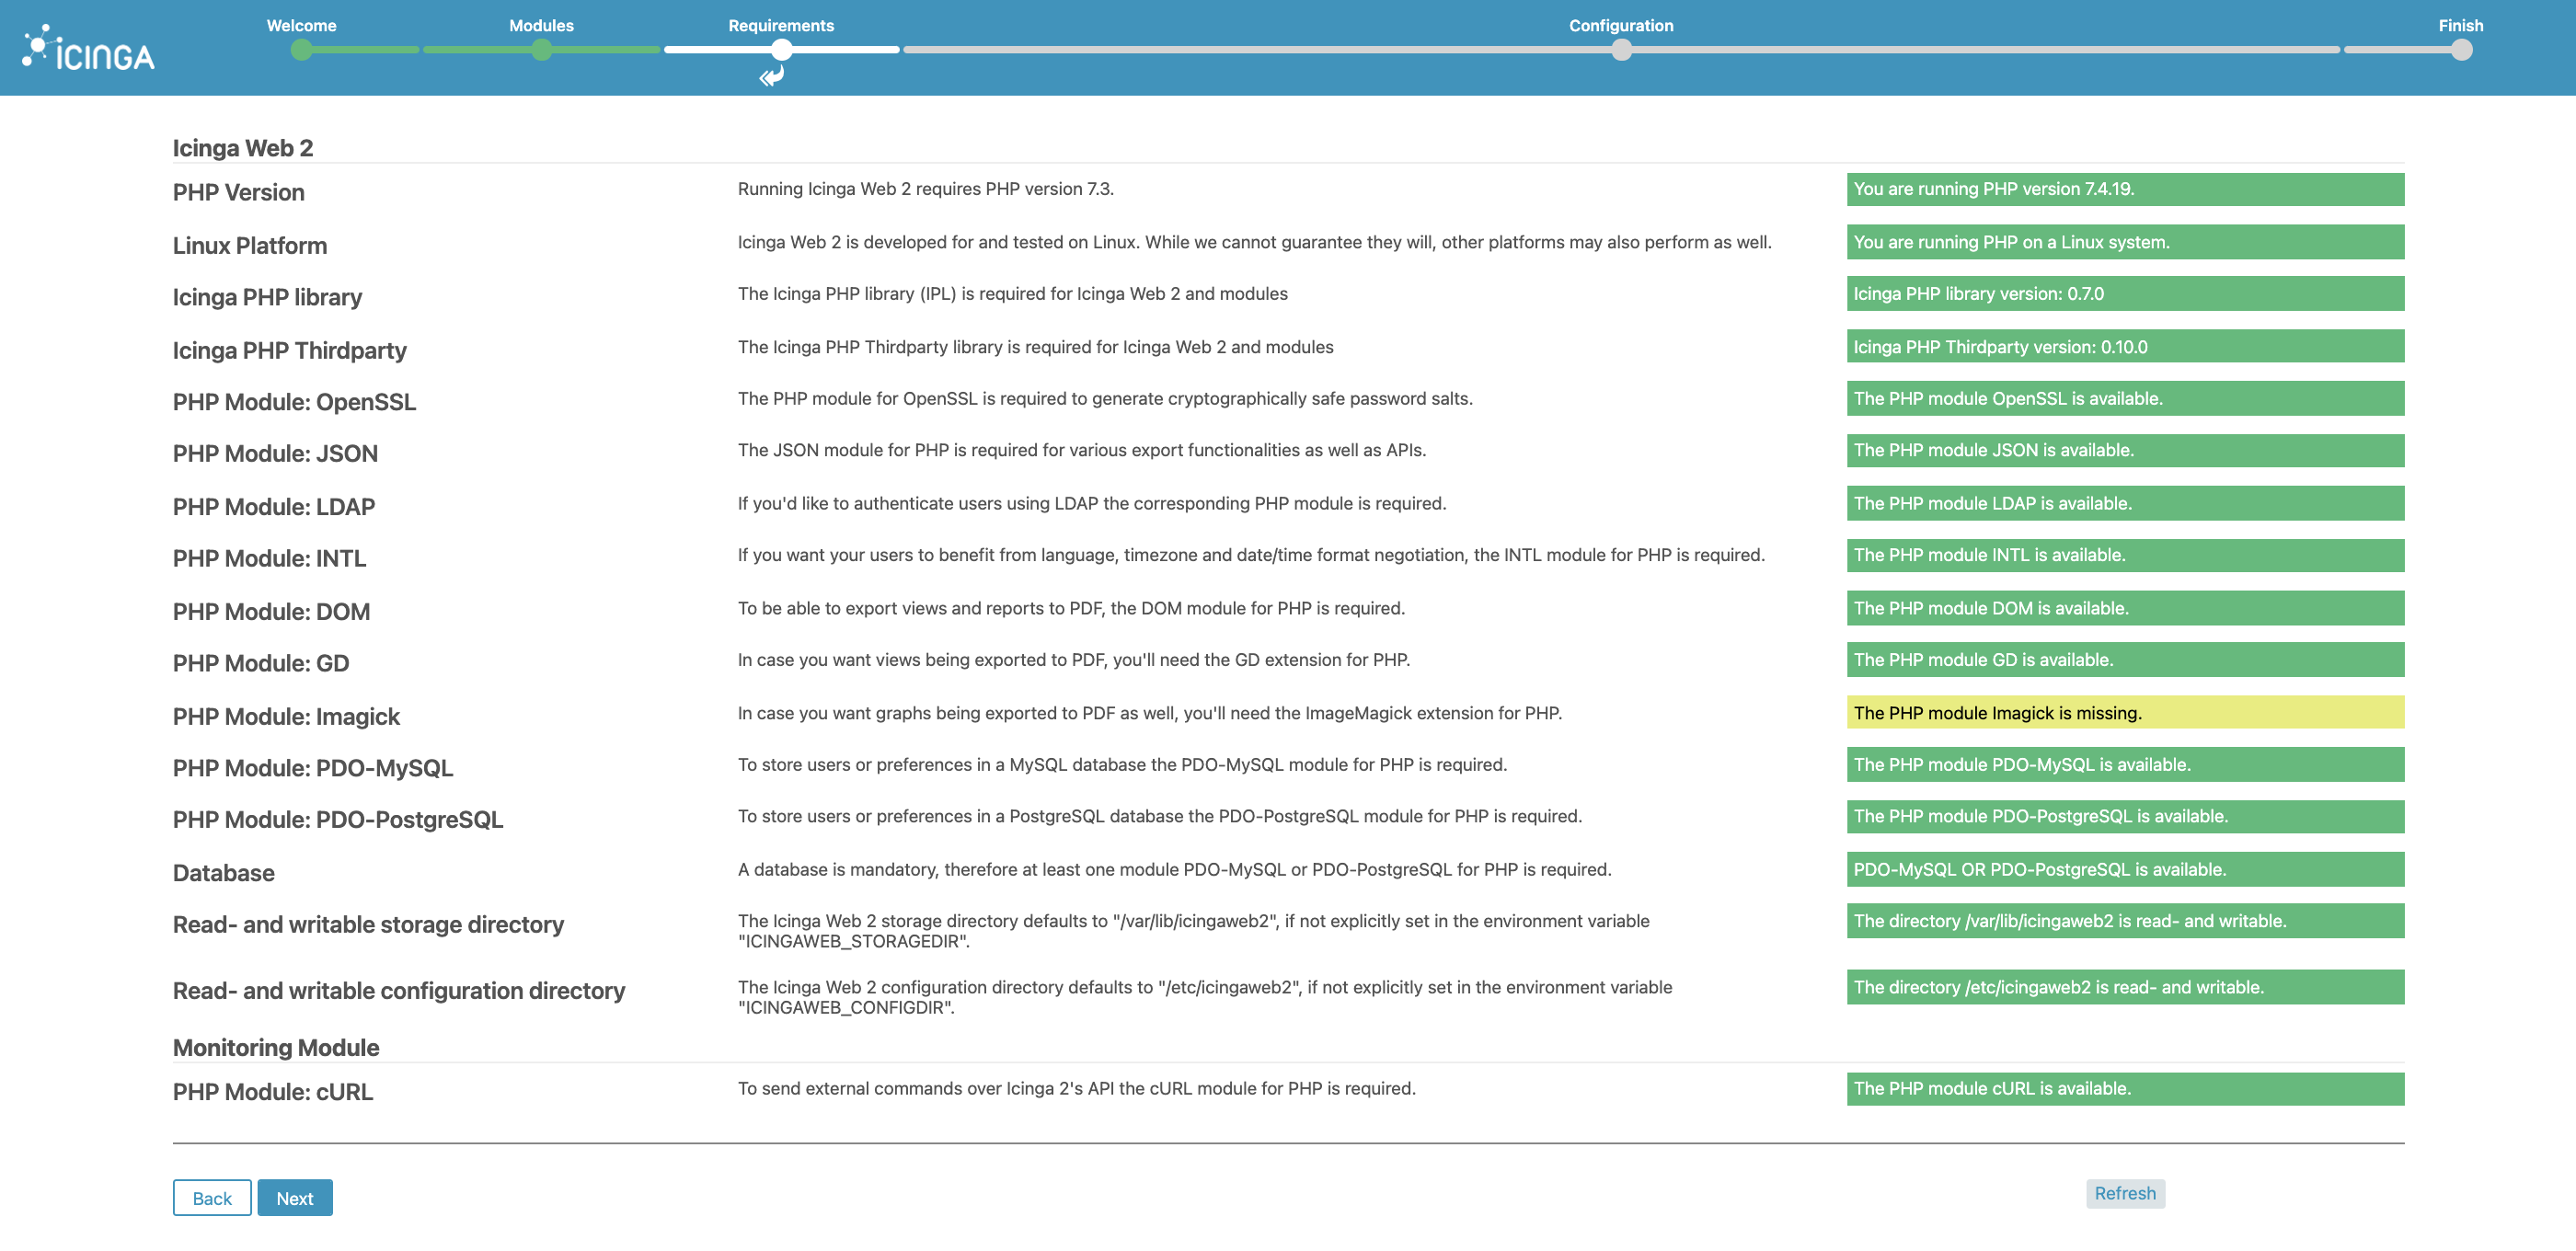
Step 4

Step 5
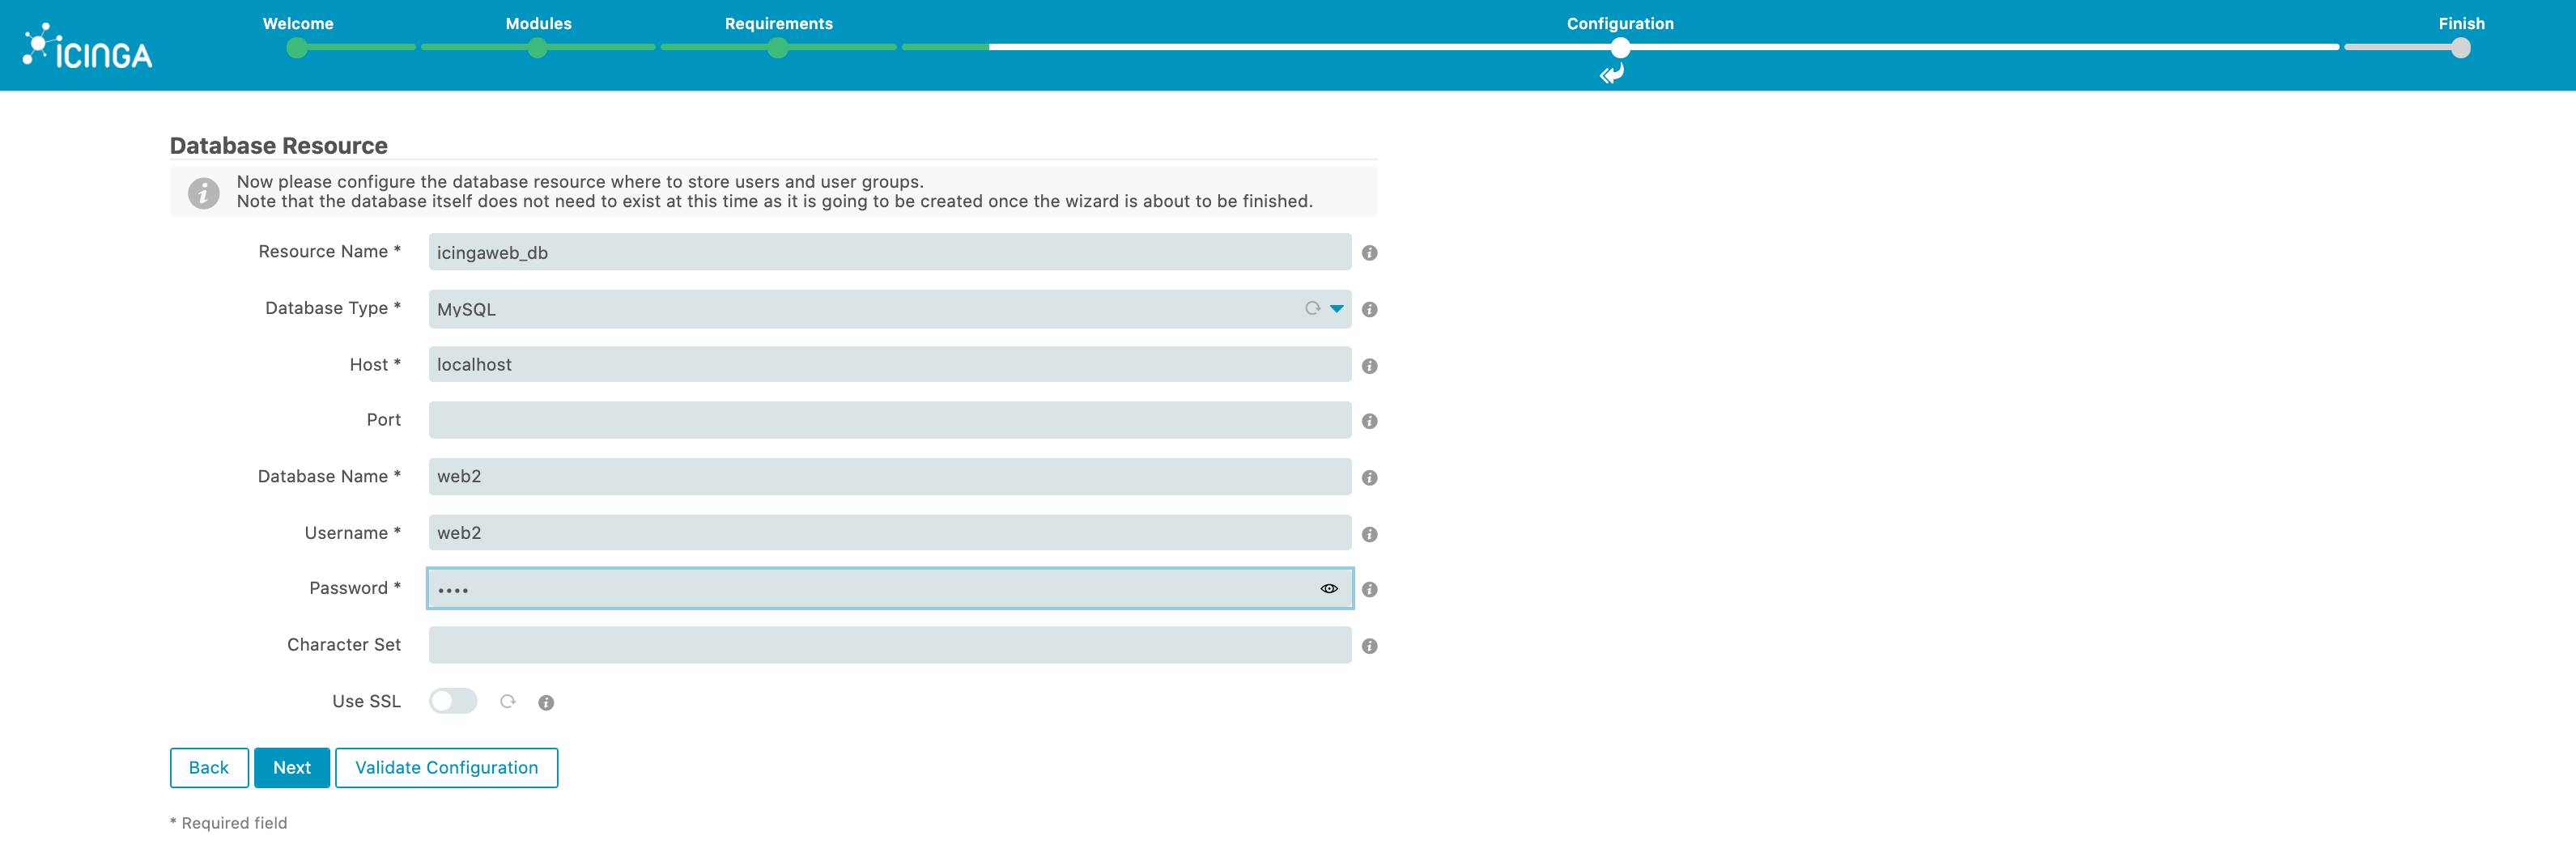
Step 6

Step 7

Step 8
Step 9

Step 10

Step 11

Step 12
Step 13

Step 14

Step 15
Step 16
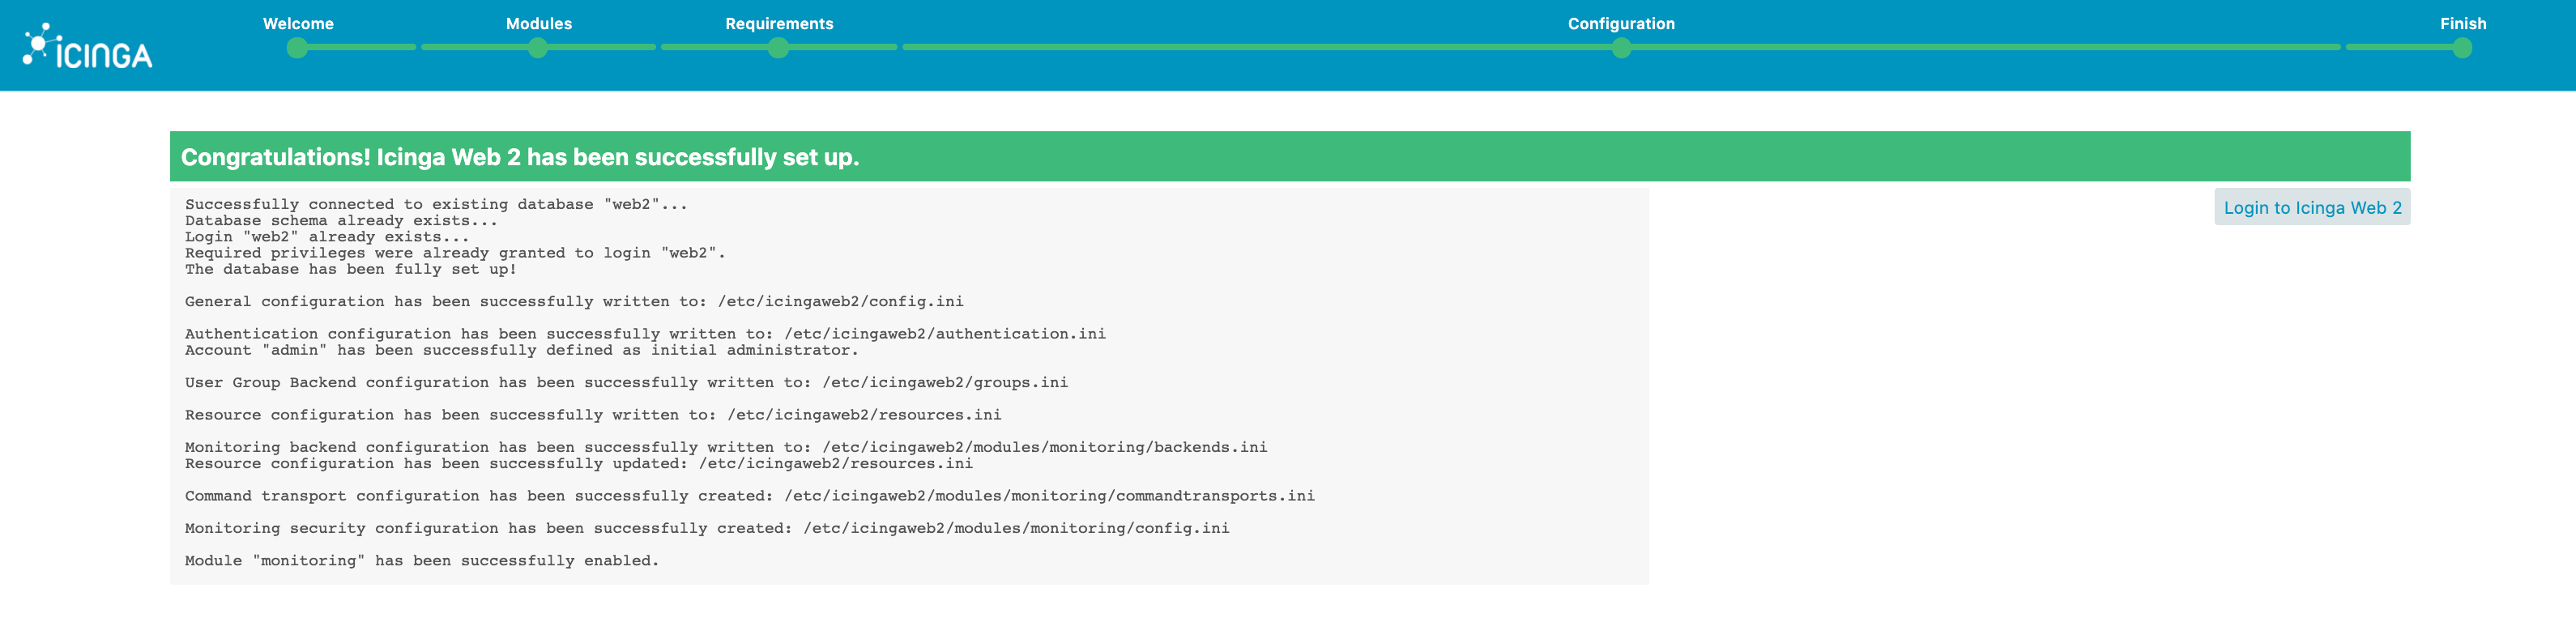
Conclusion
At this point you have a basic Icinga 2 + Icinga Web 2 + Icinga 2 IDO on a Oracle Linux 8.5 running.
FAQ
ToDo if anyone asks something specific ![]()